How to Read Your Septic Inspection Report: A Homeowner's Field Guide

Why Most Homeowners Can't Use Their Inspection Report
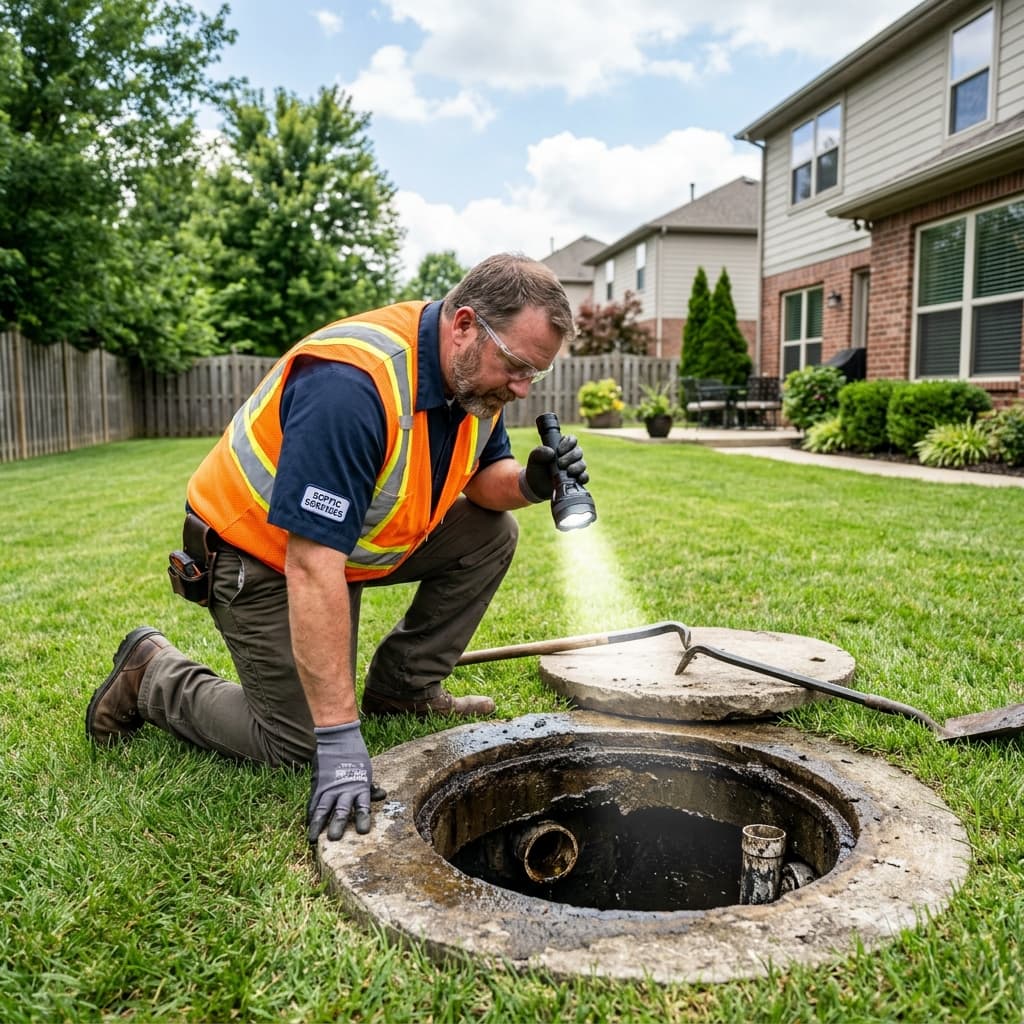
After a septic inspection, the technician hands you a form, explains a few things verbally, and leaves. For most homeowners, the report then sits in a drawer until the next inspection — its data unused, its warnings unacted upon.
This is a missed opportunity. A well-read inspection report tells you exactly where your system stands in its biological and mechanical lifecycle, what your realistic risk exposure is, and whether your current maintenance approach is working. Used correctly, it is one of the most actionable documents a homeowner on a private septic system can possess.
This guide explains what to look for in each standard section of a residential septic inspection report.
Section 1: Tank Capacity and Current Volumes
Every inspection report begins with basic system parameters. The most important figures in this section are:
- Tank design capacity (in gallons) — typically 750 to 1,500 gallons for a residential system, depending on the number of bedrooms the home was permitted for.
- Current liquid level — recorded relative to the inlet and outlet baffle heights. A liquid level significantly above the outlet baffle indicates hydraulic overloading or a backup from the drain field.
- Sludge depth — the accumulated solid layer at the tank bottom, measured in inches. Industry guidelines suggest pumping is necessary when sludge reaches 25–33% of total tank capacity.
- Scum layer thickness — the floating layer at the top. This layer should not exceed 6 inches or come within 3 inches of the outlet baffle.
Red flag: If the report shows sludge at or above 33% of tank capacity, or scum within 3 inches of the outlet baffle, pumping is required immediately — regardless of when the last service occurred.
Section 2: Component Condition Ratings
A thorough inspection evaluates the condition of several critical components:
Inlet and outlet baffles: These T-shaped or pipe-fitted components direct flow into and out of the tank. A deteriorated or missing outlet baffle is one of the most common causes of premature drain field failure — solids bypass the baffle and enter the distribution system. Reports typically rate baffles as intact, deteriorating, or absent.
Effluent filter: Many modern systems include a filter at the outlet to capture fine particles before they reach the drain field. Filters require periodic cleaning (typically annually). If the report notes a clogged or absent filter, this is a maintenance action item.
Tank structural integrity: Cracks, shifting joints, or infiltration of groundwater into the tank all affect performance. Infiltration water dilutes the septic chemistry and increases hydraulic load without adding organic content — an inefficient condition that accelerates biological imbalance.
Distribution box (D-box): If your system uses a D-box to split effluent flow between multiple drain field laterals, its level and integrity directly affect how evenly the field is loaded. A tilted or cracked D-box causes uneven loading, saturating some laterals while underloading others.
Section 3: Effluent Quality Notes
Some inspectors record observations about the clarity and odor of tank effluent. Key descriptors to watch for:
- "Turbid effluent" — indicates suspended solids are not settling properly, increasing drain field clogging risk.
- "Strong H₂S odor" — elevated hydrogen sulfide suggests a heavily anaerobic tank with poor biological breakdown.
- "Grease observed in effluent zone" — floating grease in the liquid zone between sludge and scum indicates an overloaded biological system unable to keep up with fat intake.
Section 4: Drain Field Observations
If the inspector assessed the drain field (not all do — clarify this scope before scheduling), look for:
- Saturation or ponding evidence at the soil surface above laterals
- Unusually lush vegetation zones indicating shallow effluent surfacing
- Bagged or ponded distribution lines visible during trench probing
A notation of "no observable concerns" for the drain field is not a guarantee of health — only invasive testing (pipe camera inspection or soil probing) can definitively assess subsurface conditions. However, an inspector noting surface concerns is a serious flag requiring follow-up.
Section 5: Recommendations and Next Service Interval
This section is where most homeowners focus exclusively — and where they should read most critically. Common recommendations and how to interpret them:
| Recommendation | What It Actually Means | | ---------------------------------- | ---------------------------------------------------------------------- | | "Pump at next scheduled interval" | System is currently functional; continue calendar-based maintenance | | "Pump within 6 months" | Sludge or scum has reached advisory thresholds; defer at your own risk | | "Pump immediately" | System is at or beyond safe operating limits | | "Inspect distribution box" | Uneven drain field loading suspected; additional investigation needed | | "Biological treatment recommended" | Biological population insufficient for current organic load |
How to Use the Report Going Forward
An inspection report is most valuable as a baseline for trend analysis. Keep every report you receive and compare measurements over time:
- Is sludge accumulating faster between inspections? This signals increasing organic load or declining biological efficiency.
- Is effluent quality degrading across reports? This points to biological population decline.
- Are component condition ratings holding steady or deteriorating? This informs repair timing decisions.
Homeowners who treat the inspection report as a living data set — rather than a single-event document — are consistently better positioned to address issues before they become costly emergencies.